
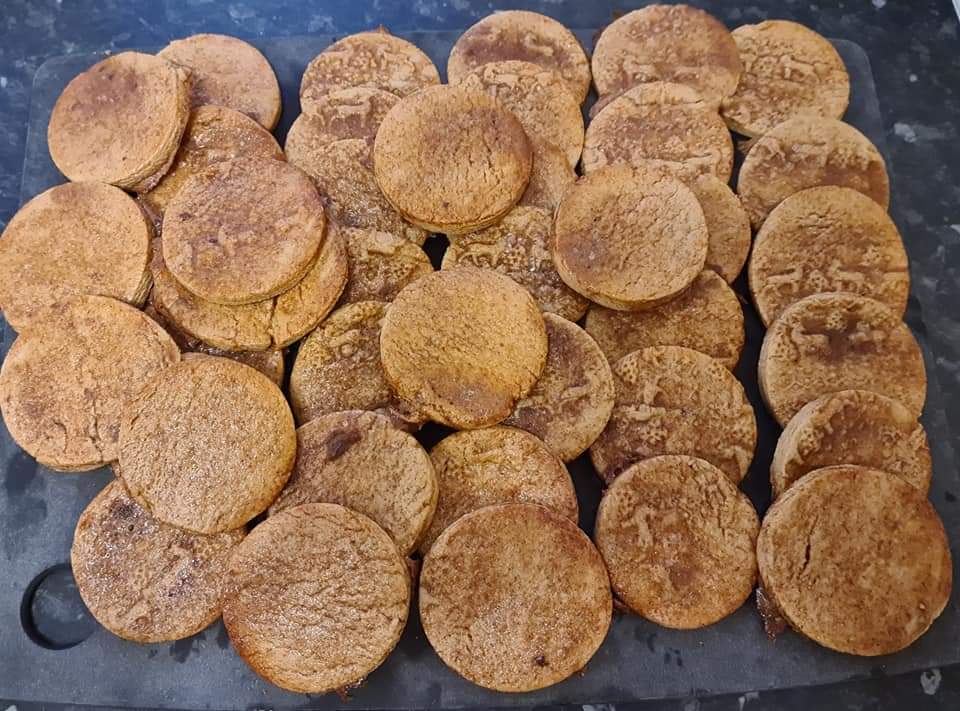
Festive Baking with Louise | Christmas Cinnamon Thins
Festive Baking with Louise | Christmas Cinnamon Thins
It’s beginning to look a lot like Christmas. We have the annual ‘let’s not poison my daughter’s teachers and support staff’ presents. When she has 3 teachers and 2 support staff it tends to get a little costly to purchase presents.
So each year we come up with a different idea of home-baked produce for Maisie to wrap up and present to her teachers.
Last year was homemade chocolates, the year before was a candy cane and chocolate lolly. We decided to do a practice run this year prior as I need to get the cooking times right and using brown sugar gives the mixture a runny texture so it cooks more quickly, and no one likes a burnt biscuit or biting into a brick.
I after much hunting managed to source an embossed rolling pin with Christmas themed items so the biscuits will look like the real deal without having to find ways to decorate them.
I make cinnamon cookies all the time, just need a bit more finesse.
This weeks recipe
You will need these items to prepare and cook the biscuits:
– Greaseproof paper
– Non-stick flat trays x2
– A rolling pin
– A whisk
– Clingfilm
– Mixing bowl
– A baking sieve (a wire mesh one)
– A set of scales
– Cookie cutters – I use round ones
Ingredients
– 709 g of plain flour
– 1 teaspoon salt
– 1 tablespoon ground cinnamon
– 337 g unsalted butter, softened
– 110 g of light or dark brown sugar (I used dark)
– 150 g of granulated sugar
– 1 egg
– 1 teaspoon pure vanilla extract
– Finely grated zest of 1 lemon
Method
1. In a bowl, whisk the flour, salt, and cinnamon together and set aside.
2. Place the butter and both sugars in a bowl of and use an electric mixer or a hand whisk to cream them together until light and fluffy, about 1 minute. Beat in the egg, vanilla, and lemon zest, until the egg is completely incorporated.
3. On low speed, slowly beat in the flour mixture, then increase the speed to medium and beat the dough until it comes away from the sides of the bowl. Shape the dough into a large disc and wrap it in a sheet of cling film and refrigerate for at least one hour.
4. When you are ready to bake the cookies, remove the dough from the refrigerator to slightly soften it while you preheat the oven to 160 fan/180 conventional oven and position the racks to the center of the oven. Line the trays with greaseproof paper.
5. Make the topping by whisking together the milk and egg well in a small bowl. In another bowl, stir the 32 g of granulated sugar and 1 tablespoon ground cinnamon. Set both aside.
6. Divide the dough into three pieces; work with one piece at a time, keeping the other pieces in a cool part of the kitchen. On a lightly floured board, roll the dough into a rectangle shape, 5 mm thick . Using a sharp knife or fluted pastry wheel, cut the dough into long strips and then into rectangles about 1 1/2 to 2 inches long; squares work well too. (Alternatively, use your favorite cutters to stamp out the cookies into desired shapes).
7. Arrange the dough strips 1/2-inch apart on the baking sheet. Using a pastry brush, glaze the top of each cookie with the egg and milk mixture and sprinkle them generously with the cinnamon sugar mixture.
8. Bake the cookies for 10 minutes, or until they are nicely golden brown. Rotate the baking sheets halfway through the baking time to ensure even browning.
9. Allow the cookies to cool for one minute on the sheet, and then slide them onto a wire rack to cool completely. Repeat as necessary with the remaining pieces of dough.
10. Store the cookies up to 2 weeks in an airtight container.
As always
Many thanks for reading
Louise Xx
Louise uses our Platinum with Vitamin E range to keep her stoma site healthy. Try a sample here.

Meet the blogger: Louise
Meet Louise! She’s a blogger and ambassador for Pelican and has been for the last 3 years
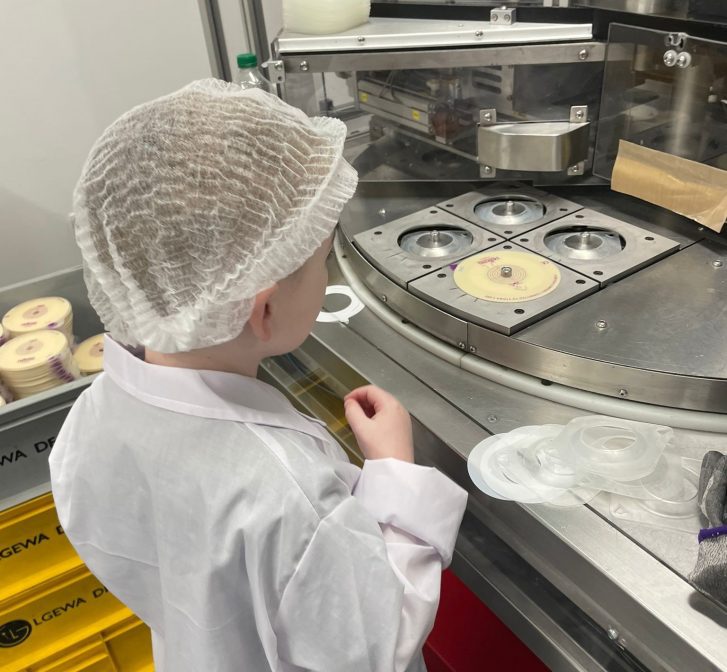
Factory Tour at Pelican Healthcare
Last month me and my mini ostomate had the honour of having a private factory tour with Pelican and Respond Healthcare. Two kind souls who have always supported my work […]

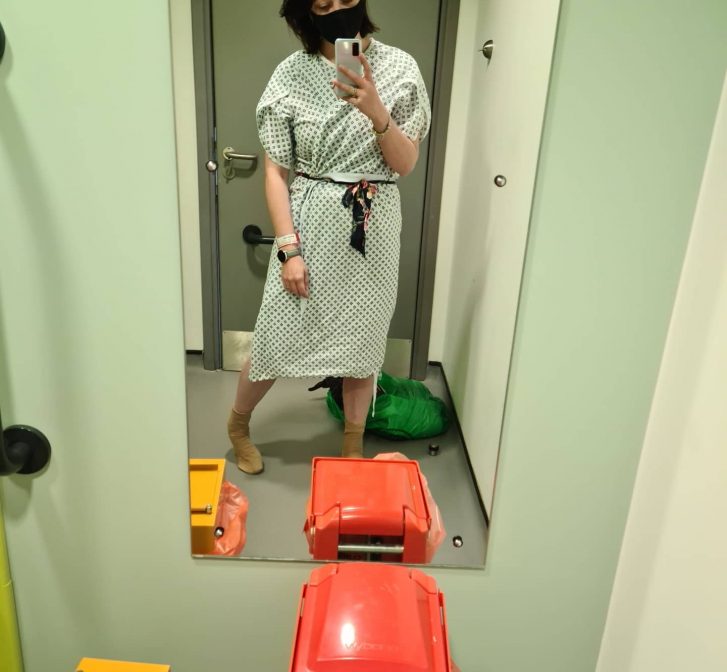
Charlotte’s Stoma Story – “This surgery has given me my life back”
Hey! 👋🏻 My name is Charlotte & I have recently become the proud owner of a sparkling new stoma and really want to share my story with you on how […]

De-bagging the myth: “Stomas are just for older people”
Hello my lovely Pelican readers! I hope this month is treating you well & I’m sending gentle & healing hugs your way if you need them. October 1st is “International […]

Festival Fun With an Ostomy
It’s festival season, and there’s no reason why you shouldn’t attend a festival with an ostomy. Louise shares her experience attending a festival with a stoma, along with top tips […]
Health Update | CrohnsFighting
Stoma surgery doesn’t necessarily cure the owner of their ailments. For some it does… alas for me it has given me a few years of remission but hasn’t completely rid […]
